In an emergency, the difference between feeling helpless and being helpful comes down to one thing: preparation. Every second matters when a life-threatening situation unfolds. But you don’t need to be a doctor to make a huge impact. Learning a few core life-saving skills is something anyone can do. These are the basic life saving skills that give you the confidence to act decisively. Let’s walk through the simple, powerful actions you can take to provide critical support when it’s needed most.
Emergencies can happen without warning, whether it’s a loved one or a stranger in distress. In those critical moments, having the ability to step in and provide help can be life-saving. Learning key life-saving skills enables you to respond with speed in emergencies. These core skills are easy to learn. They can make a big difference when every second matters.
- Cardiopulmonary Resuscitation (CPR): CPR is a life-saving skill. It keeps blood flowing and sends oxygen to vital organs during cardiac arrest. Doing chest compressions and rescue breaths can help someone survive until help comes.
- Automated External Defibrillator (AED) Use: An AED is a small device. It checks heart rhythms and can deliver a shock. This helps restart the heart during sudden cardiac arrest. Using an AED increases the chances of survival.
- Heimlich Maneuver (Choking First Aid): The Heimlich maneuver applies quick, upward pressure on the abdomen. This helps push out objects stuck in the airway. It’s a fast way to stop choking and restore normal breathing.
- First Aid for Severe Bleeding: To stop severe bleeding, apply pressure to the wound. If you can, lift the injured area. You should only use a tourniquet when you can’t control bleeding by other means.
- Recovery Position: Putting an unconscious person on their side keeps the airway open. It also reduces the risk of choking on vomit or fluids as they breathe.
- Recognizing Signs of Stroke (FAST): FAST helps spot stroke warning signs. It also stresses the need to call 911 if you think someone is having a stroke.
- Basic First Aid: Basic first aid is quick care for injuries like cuts, burns, or fractures. It helps stabilize a person’s condition while waiting for medical professionals.
What Are Life-Saving Skills and Why Do They Matter?
Defining Essential First Aid Techniques
Life-saving skills are the practical techniques you can use to recognize and respond to medical emergencies. Think of them as your first-response toolkit, designed to prevent further harm and provide critical care until professional help arrives. These skills include foundational actions like performing CPR to keep blood flowing, using an AED to restore a normal heart rhythm, or applying the Heimlich maneuver to clear a blocked airway. They aren’t complex medical procedures reserved for doctors; they are straightforward, essential actions that anyone can learn. Mastering these basics empowers you to handle a crisis with clarity and purpose, making a tangible difference when it counts.
The Importance of Being Prepared in a Crisis
Knowing these skills is crucial because the first few minutes of an emergency often determine the outcome. When someone is trained, they can provide immediate assistance that bridges the gap until paramedics arrive. This readiness does more than just create safer communities; it builds confidence. Instead of feeling helpless, you gain the ability to act decisively and calmly under pressure. A prepared individual can stop severe bleeding, stabilize an injured person, or keep someone breathing. This proactive approach to safety is vital in any organization, ensuring that your team is ready to respond effectively. A comprehensive safety plan includes not only trained personnel but also properly maintained equipment, which is why complete AED program management is so important for workplace readiness.
How to Perform CPR
CPR, or cardiopulmonary resuscitation, is a key technique. It keeps blood and oxygen flowing when someone has a cardiac arrest. Chest compressions and rescue breaths can keep someone alive until help arrives.
- To check if someone is responsive, tap them lightly and call out. If there is no reaction, immediately call 911 or have someone else make the call.
- To start chest compressions, place your hands in the center of the chest. Press down with strong pressure and maintain a consistent rhythm of 100 to 120 times per minute. This helps to circulate blood.
- After every 30 compressions, give two rescue breaths. Tilt the head back. Seal their mouth with yours. Breathe in until you see the chest rise.
While formal CPR training is ideal, you can still perform hands-only CPR in an emergency. Push firmly in the center of the chest. Aim for 120 compressions each minute. Keep going until help arrives or the person starts to recover.
Alongside CPR, using an AED is a vital skill in cardiac emergencies. CPR keeps blood flowing. A defibrillator is needed to restore the heart’s normal rhythm. Both are vital for saving lives.
An AED is essential for restarting the heart and is often found in public places like malls and airports. Certification helps, but these devices are easy to use. Anyone can operate them, even without formal training, in critical situations.
The AED gives clear voice instructions. These steps help users assist someone in cardiac arrest. It’s not clear if chest compressions during rhythm checks affect outcomes. Still, it’s best to follow the device’s prompts.
Key CPR Details to Remember
Performing CPR is more than just following steps; the quality of your actions matters immensely. For an adult, aim for chest compressions that are about two inches deep. To get the right rhythm, push at a rate of 100 to 120 compressions per minute—humming the beat of “Stayin’ Alive” can help you keep the perfect pace. Just as important is allowing the chest to fully recoil, or rise back up, between each compression. This simple action lets the heart refill with blood, making your efforts much more effective. Minimizing interruptions is also crucial for maintaining blood flow. Ensuring your team is trained on these specifics is a core part of any effective emergency response plan.
How to Use an Automated External Defibrillator (AED)
Along with effective CPR, knowing how to use an AED is a vital skill in a cardiac emergency. These portable devices give a shock to restart the heart. You often find them in public places. They are easy to use. This lets anyone help during a sudden cardiac arrest.
- Power on the AED and follow the guided voice or screen instructions provided by the device.
- Place the electrode pads on the chest exactly as shown in the AED instructions.
- Ensure that someone does not touch the person. Then, press the analyze button. This lets the AED check its heart rhythm.
- If the device instructs, press the shock button to deliver an electric pulse to the heart.
Passing the CPR test requires skillful chest compressions and proper use of an AED.
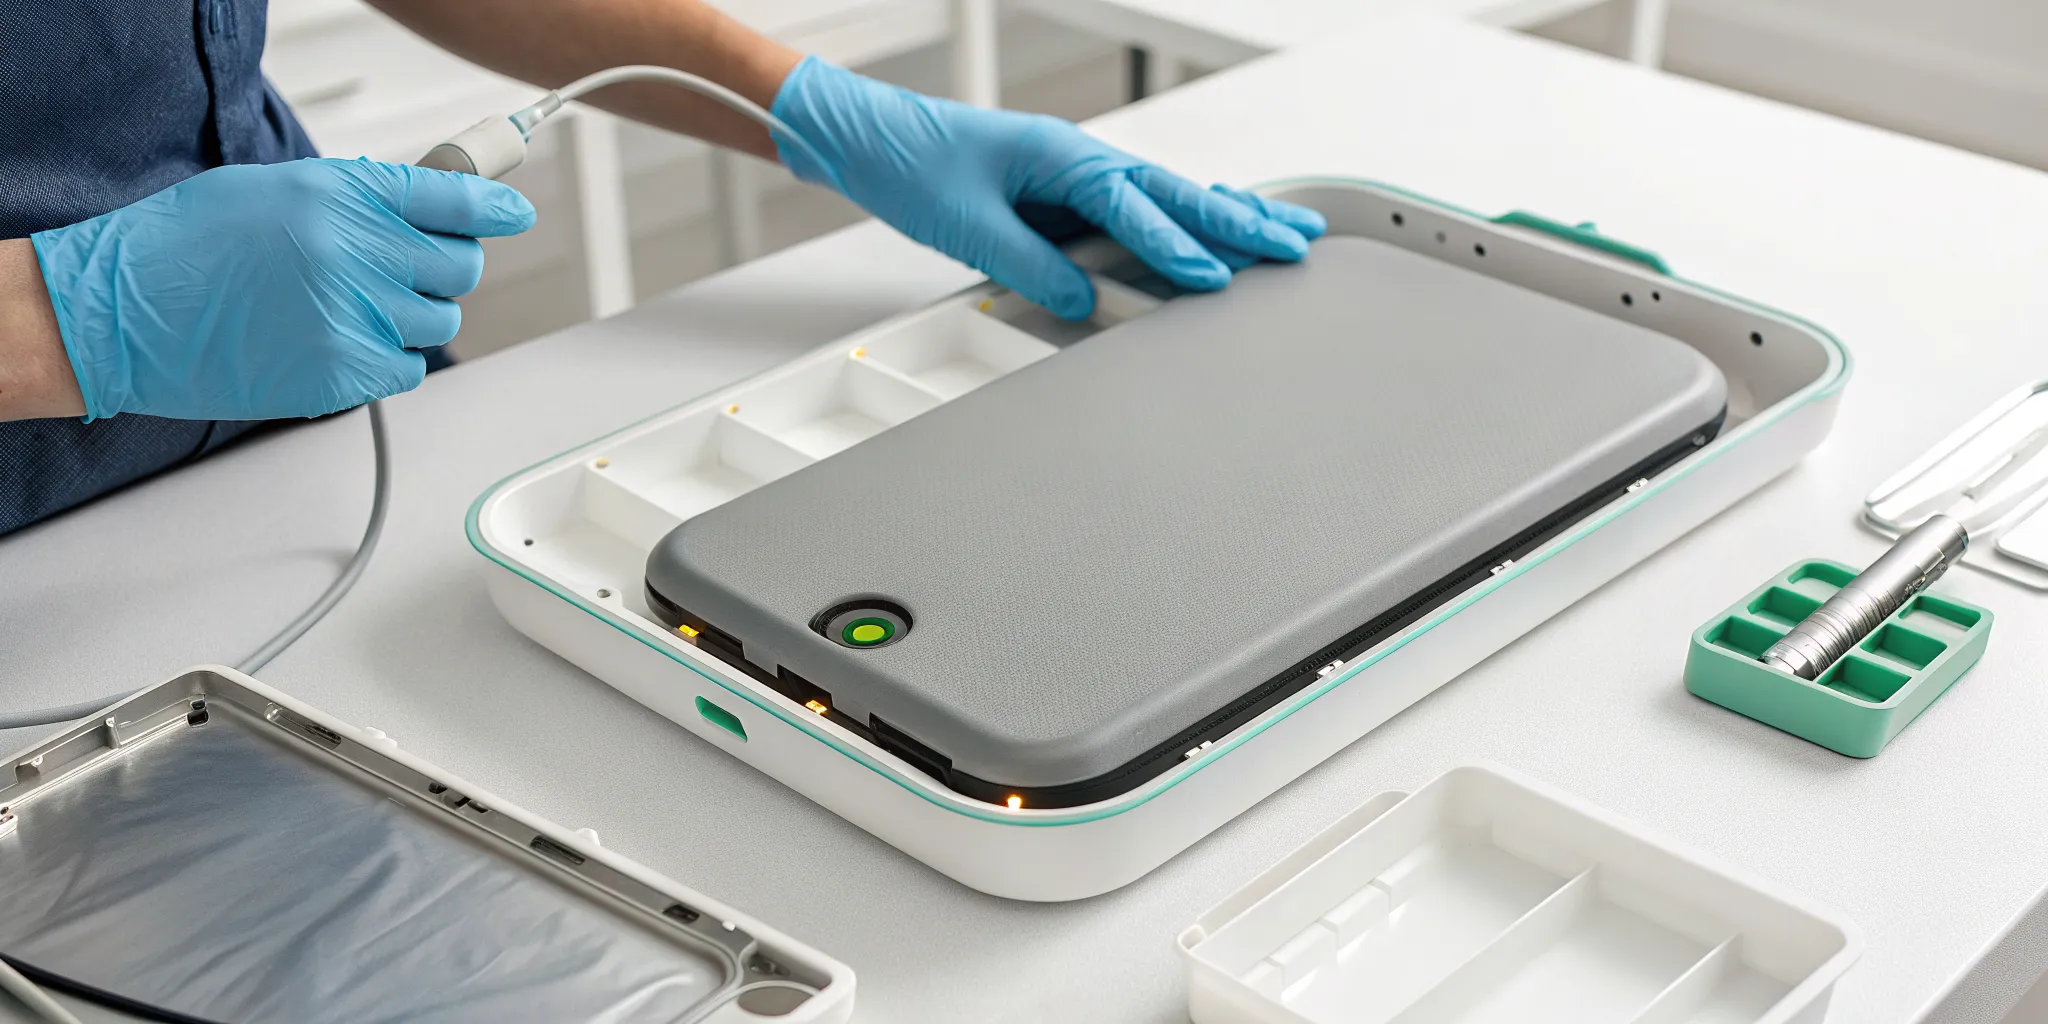
### Ensuring Your AED is Ready to Use Knowing how to use an AED is a critical skill, but it’s only effective if the device itself is ready to perform. An AED with an expired battery or old electrode pads is of no use during a cardiac emergency. That’s why routine maintenance isn’t just a suggestion—it’s a vital part of owning a life-saving device. Regular inspections are necessary to confirm the readiness indicator is green, the battery is charged, and the pads are within their expiration date. Neglecting these simple checks can have serious consequences, creating a false sense of security and putting your organization at risk. A properly maintained AED ensures that when an emergency strikes, your equipment is as prepared as you are. #### The Role of AED Program Management Keeping one AED in working order is straightforward, but managing several devices across different floors or locations can quickly become complicated. Each unit has its own schedule for battery and pad replacements, requires monthly inspections, and must comply with specific local and state regulations. Juggling these tasks manually is an administrative headache and leaves room for error. This is where a dedicated AED program management service becomes essential. A comprehensive program takes the burden off your team by tracking maintenance schedules, sending alerts for expiring parts, and maintaining audit-ready compliance records. It ensures every device is accounted for and ready, giving you confidence that your entire AED fleet is prepared to save a life.How to Perform the Heimlich Maneuver
The Heimlich maneuver, also known as abdominal thrusts, is a fast first-aid technique. It’s used when a person is choking and can’t breathe due to an airway blockage, often from food. Named for Dr. Henry Heimlich, this technique helps clear blockages and restore breathing.
- Position yourself behind the person and encircle their waist with your arms.
- Form a fist and position it above the navel with the thumb side facing inward.
- Use one hand to grab your fist. Then, make sharp upward thrusts until the blockage is cleared.
- If the object doesn’t come out with the first thrust, keep doing abdominal thrusts. Continue until it’s dislodged or the person passes out.
What to Do if You’re Choking Alone
It’s a frightening thought, but choking can happen when you’re by yourself. Thankfully, you can perform the Heimlich maneuver on your own to clear your airway. First, make a fist and place it slightly above your navel. Grasp your fist with your other hand and thrust inward and upward with force. For added leverage, you can also bend over a firm object—like the back of a chair or a countertop—and drive your abdomen against it. Continue these thrusts until the object is dislodged and you can breathe again.
How to Stop Severe Bleeding
Responding quickly to someone who is bleeding badly is crucial. It can turn life-threatening in a few minutes. Taking swift action can help stop blood loss while waiting for emergency services.
- Press firmly on the wound using a clean cloth, gauze, or your hand to help slow the bleeding.
- If you can, raise the injured area to help reduce the bleeding.
- If the bleeding doesn’t stop, use a tourniquet only as a final option.
- Keep an eye on their condition and offer reassurance to help keep them calm.
- Remain by their side until medical help takes over.
Identifying Different Types of Bleeding
Not all bleeding is the same, and knowing how to spot the differences can help you react appropriately. The most critical type is arterial bleeding, which comes from an artery. You’ll recognize it by its bright red color and the fact that it spurts out in time with the person’s heartbeat. This is a true emergency requiring immediate pressure. Next is venous bleeding, from a vein. This blood is darker red and flows steadily instead of spurting. While less dramatic than arterial bleeding, it can still result in significant blood loss. The most common and least severe is capillary bleeding, which is the slow ooze you see from a scrape or minor cut. Regardless of the type, your goal is always to control the bleeding with direct pressure while you wait for professional help to arrive.
Placing Someone in the Recovery Position
The recovery position is a first aid technique. It helps keep an unconscious person breathing and their airway clear. It helps stop choking by letting fluids drain safely. It is used only when there is no suspected spinal injury.
- Turn the person onto their side and bend the top leg at a right angle to help keep them stable.
- Use your hand to gently support their head, ensuring the airway stays open.
How to Recognize the Signs of a Stroke
A stroke occurs suddenly when blood flow to the brain gets blocked. This can seriously threaten both physical and mental functions. Acting quickly is vital, and recognizing the signs early can save lives.
- Ask them to smile and check if one side of the face appears to droop.
- Have them lift both arms and see if one slowly drops or can’t stay raised.
- Ask them to say a simple phrase and listen for slurred or unusual speech.
- If any of these signs appear, call 911 without delay.
Your Life-Saving Skills Questions Answered
Basic first aid skills are a powerful tool. They help anyone manage injuries and emergencies with confidence. Quick action can stabilize a person’s condition. It helps prevent complications before medical help arrives. This can greatly affect the outcome.
First aid not only helps prevent complications but also provides reassurance in emergencies. It helps people feel ready at home, work, or in public. This boosts safety and builds community readiness.
FAQs
What are basic life-saving skills?
Basic life-saving skills are critical. These techniques are CPR, using an AED, stopping heavy bleeding, and helping someone who is choking. These skills can be vital in emergencies. They empower people to save lives before help arrives.
Why is CPR considered a life saving technique?
CPR saves lives. It keeps oxygen-rich blood moving to important organs during cardiac arrest. Without it, brain damage or death can occur within minutes. That’s why CPR is one of the most important first-aid techniques.
How can I learn life saving skills quickly?
You can learn basic life-saving skills by taking certified first aid and CPR courses. Many of these courses are available online or in person. These courses show you how to save a life. You will practice hands-on and learn from real-world scenarios. This will boost your confidence in emergencies.
What should I do if someone is choking?
The Heimlich maneuver is one of the key first aid life saving skills to help someone who’s choking. Stand behind the person. Apply quick abdominal thrusts. Keep going until the object is out or they pass out. Knowing this technique could save a life instantly.
Are life saving skills useful outside of medical jobs?
Not possible to remove the adverb. Life saving skills are valuable for everyone, not just healthcare professionals. Emergencies can occur anywhere. Being ready protects your loved ones, coworkers, and even strangers when time matters.
Understanding the FAST Acronym
When a stroke happens, blood flow to the brain is blocked, and immediate action is crucial. The FAST acronym is a simple tool that helps you quickly identify the most common stroke warning signs and reminds you to act without hesitation. Here’s what to look for: F is for Face Drooping—ask the person to smile and see if one side of their face droops. A is for Arm Weakness—have them raise both arms and check if one arm drifts downward. S is for Speech Difficulty—ask them to repeat a simple phrase and listen for slurred or strange speech. Finally, T is for Time to call 911. If you observe any of these signs, even if they seem to disappear, it’s critical to call for emergency medical help right away. Recognizing these symptoms and acting fast can make a significant difference in someone’s recovery.
How to Handle Other Common Injuries
While major events like cardiac arrest get a lot of attention, knowing how to handle more common injuries is just as important for a well-rounded emergency response plan. From burns to sprains, providing the right initial care can prevent an injury from getting worse and support a faster recovery. These skills are practical, easy to learn, and can make a huge difference in the crucial moments after an accident. Being prepared for these situations gives you the confidence to act calmly and effectively, whether you’re at home, in the office, or out in the community.
Managing Burns
When someone suffers a burn, quick and correct first aid is essential. According to the Idaho Medical Academy, “Proper first aid for burns can ease pain, stop the burn from getting worse, and help the skin heal faster.” For minor burns, immediately run cool—not cold—water over the area for 10 to 20 minutes. After cooling, cover it loosely with a sterile, non-stick bandage. Avoid using ice, as it can cause more damage to the skin. For severe burns that are large, deep, or involve the hands, feet, face, or joints, call 911 immediately and cover the area with a clean, dry cloth while waiting for help to arrive.
Treating Sprains and Strains with the R.I.C.E. Method
Sprains and strains are common injuries that affect muscles and ligaments, often from a sudden twist or fall. The best immediate treatment follows the R.I.C.E. method, which stands for Rest, Ice, Compression, and Elevation. First, stop any activity and rest the injured area. Apply an ice pack for about 20 minutes every few hours to reduce swelling and pain. Next, use a bandage to wrap the injured joint for compression, which helps minimize swelling. Finally, keep the injured limb elevated above the heart whenever possible. This simple process can significantly aid recovery and reduce discomfort until you can see a doctor.
How to Set a Temporary Splint
If you suspect a broken bone, immobilizing the injured area is critical to prevent further damage. A temporary splint can stabilize the limb until medical professionals can provide treatment. As experts point out, “A splint keeps the injury from getting worse until medical help arrives.” You don’t need a professional kit; you can improvise with everyday items. Use something rigid, like a rolled-up magazine, a sturdy stick, or a board, and place it alongside the injured limb. Secure it gently but firmly with tape, cloth strips, or a belt above and below the injury, but never directly on it. The goal is to keep the limb from moving, not to set the bone.
Spotting a Concussion After a Head Injury
Any injury to the head should be taken seriously, as concussions aren’t always obvious right away. After a fall or a blow to the head, it’s important to watch for specific symptoms. Key signs include dizziness, confusion, headache, nausea, or memory problems. The Idaho Medical Academy warns that you should “look for signs like dizziness or confused thinking. Concussions are dangerous and need a doctor.” If someone displays any of these symptoms after a head injury, they need to be evaluated by a medical professional as soon as possible, even if they didn’t lose consciousness. Don’t let them continue with physical activity until they’ve been cleared by a doctor.
Treating Insect and Snake Bites
When dealing with an insect or snake bite, the first priority is safety. If possible, “move away from the danger, stay calm, and keep the bitten limb still.” Call for emergency help immediately, especially if you suspect the bite is from a venomous snake or if the person shows signs of a severe allergic reaction, like difficulty breathing or swelling of the face. While waiting for help, wash the bite with soap and water and try to keep the affected area lower than the heart. Do not apply a tourniquet or try to cut the wound, as these actions can cause more harm.
Closing Wounds in an Emergency
For most cuts and scrapes, applying direct, firm pressure with a clean cloth is the best way to control bleeding. However, in a severe emergency where medical help is delayed, “knowing how to close a wound might be necessary.” This is an advanced skill and should only be considered as a last resort to stop life-threatening bleeding. The primary focus for most people should be on applying continuous pressure and elevating the wound if possible. If bleeding is severe and won’t stop with pressure, a tourniquet may be needed, but proper training is essential to use one safely and effectively.
Responding to Specific Medical and Environmental Emergencies
Beyond physical injuries, emergencies can also arise from sudden medical conditions or exposure to harsh environmental elements. Allergic reactions, temperature extremes, and water-related accidents require a unique set of responses. Knowing how to identify the signs of these emergencies and what steps to take can be just as life-saving as performing CPR or stopping bleeding. This knowledge empowers you to act decisively in a variety of situations, ensuring the person in distress receives the best possible care while you wait for professional responders to arrive on the scene.
How to Use an EpiPen for Allergic Reactions
A severe allergic reaction, or anaphylaxis, can be life-threatening, and an EpiPen delivers a critical dose of epinephrine to counteract it. “Knowing how to use an EpiPen is vital.” The process is designed to be simple and fast. First, remove the blue safety cap. Place the orange tip against the person’s outer thigh—you can administer it directly through clothing. Then, push the pen firmly until it clicks, and hold it in place for three seconds. After using the EpiPen, call 911 immediately, as the person will need further medical attention. Always remember the simple phrase: “Blue to the sky, orange to the thigh.”
Recognizing Temperature Extremes
Extreme heat or cold can overwhelm the body’s ability to regulate its internal temperature, leading to dangerous conditions like heatstroke and hypothermia. It’s important to “know the signs of these conditions caused by extreme temperatures.” Heatstroke occurs when the body overheats, while hypothermia happens when the body loses heat faster than it can produce it. Both are serious medical emergencies that require immediate action. Recognizing the early warning signs is the first step in preventing a situation from becoming critical and helping someone get the care they need quickly.
Signs of Heat Stroke
Heatstroke is a severe medical emergency that happens when the body’s temperature rises to dangerous levels. Key signs include a high body temperature (103°F or higher), a fast, strong pulse, headache, dizziness, and nausea. The person’s skin may be hot and red, and they might seem confused or lose consciousness. If you suspect someone has heatstroke, call 911 right away. While waiting for help, move them to a cooler location, help cool their body with cool cloths or a cool bath, and do not give them anything to drink.
Signs of Hypothermia
Hypothermia occurs when the body’s core temperature drops dangerously low. Early signs include intense shivering, slurred speech, and confusion or memory loss. As it worsens, the shivering may stop, and the person can become drowsy or lose consciousness. If you see these signs, call for emergency medical help. Move the person to a warm, dry location and remove any wet clothing. Warm the center of their body—chest, neck, and head—using blankets or skin-to-skin contact. Offer warm, non-alcoholic drinks if they are conscious.
Water Rescue Basics: The “Reach, Throw, Row, Go” Method
When someone is in trouble in the water, your first instinct might be to jump in after them, but that can put you in danger, too. Instead, follow the “Reach, Throw, Row, Go” method for a safer rescue. First, try to reach the person from the shore with your hand, a leg, or an object like a pole or branch. If they’re too far, throw them a buoyant object like a life ring or a rope. If you have access to a boat, row out to them. Only as a final resort should you go into the water, and only if you are trained in water rescue.
Beyond First Aid: Broader Emergency Preparedness
While knowing how to respond in the moment is crucial, true readiness comes from proactive planning. Thinking ahead about potential emergencies—from house fires to power outages—can make a huge difference in how you and your family cope. This involves creating safety plans, assembling emergency kits, and ensuring everyone knows what to do when something goes wrong. This same principle applies to organizations, where having a comprehensive AED program management plan ensures that equipment is ready and people are trained long before an emergency ever happens.
Essential Fire Safety in Your Home
Effective fire safety goes beyond just having a fire extinguisher. A key part of preparedness is knowing how to shut off your home’s utilities, especially natural gas, to prevent a fire from spreading or causing an explosion. According to Ready.gov, you should “know how to turn off utilities like natural gas in your home.” Locate the shutoff valves for water, gas, and electricity ahead of time and make sure you have any necessary tools nearby. Additionally, test your smoke alarms monthly, replace the batteries at least once a year, and create and practice a fire escape plan with your family.
Preparing for Power Outages
Power outages can happen unexpectedly and last for hours or even days. Being prepared can make the situation much more manageable. The first step is to “have an emergency kit with supplies like batteries, flashlights, and non-perishable food.” Your kit should also include a gallon of water per person per day, a hand-crank or battery-powered radio, a first-aid kit, and any necessary medications. Keep your cell phones and backup power banks charged. If you rely on medical devices that require electricity, make sure you have a backup power plan in place.
Natural Gas Safety
A natural gas leak can be extremely dangerous, so it’s important to know the signs and what to do. The most obvious sign is the distinct “rotten egg” smell. If you suspect a leak, leave the area immediately. Do not use your phone, turn lights on or off, or do anything that could create a spark. Once you are a safe distance away, call 911 and your gas company. To be proactive, you can also “install natural gas detectors throughout your home” for an early warning, similar to how smoke detectors work.
Creating a Family Communication and Financial Plan
In an emergency, communication can be difficult, and unexpected costs can add stress. That’s why having a plan is so important. Designate an out-of-town contact that everyone in your family can call to check in. Make sure everyone has important phone numbers saved. Financially, it’s wise to “create a budget that includes putting money into an emergency fund every month.” Having some cash on hand is also a good idea, as ATMs and credit card machines may not work during a power outage. This planning provides peace of mind and helps you handle the unexpected with confidence.
How to Learn and Maintain Life-Saving Skills
Learning life-saving skills is one of the most empowering things you can do, but it’s not a one-time event. Just like any other skill, first aid and CPR techniques require practice and refreshing to remain effective. Committing to ongoing education ensures that you’re not only prepared with the right knowledge but also confident in your ability to apply it correctly when it matters most. Staying current with the latest guidelines and renewing your certifications are key steps in being a reliable and effective first responder for your family, colleagues, and community.
Getting Certified in First Aid and CPR
The best way to learn these skills is by taking a certified course. These classes provide hands-on training from qualified instructors, allowing you to practice on manikins and ask questions in a supportive environment. As CPR AED Course notes, “Many of these courses are available online or in person,” making it easy to find an option that fits your schedule. Certification not only gives you the skills but also the confidence to act decisively in a real emergency. For businesses and schools, ensuring staff is certified is a critical part of any workplace safety program.
Keeping Your Skills Fresh
Once you’re certified, it’s important to keep your knowledge up to date. Guidelines can change, and skills can fade if they aren’t used. For this reason, “it’s recommended to renew your certification every two years to keep your skills sharp.” Regular refreshers ensure you remember the proper steps for CPR, AED use, and other first aid techniques. For organizations, tracking these renewal dates can be a challenge, which is why comprehensive AED and compliance management services often include training oversight to ensure your entire team remains prepared and compliant.
Be Prepared to Save a Life
Learning life saving skills isn’t just for professionals—it’s for everyone. In an emergency, simple actions like CPR, stopping bleeding, or using an AED can save lives. Being prepared gives you the power to step in with confidence and potentially save a life. With the right knowledge and quick response, you can be the reason someone gets a second chance.
Key Takeaways
- Prioritize the most critical skills: Focus on learning CPR, how to operate an AED, the Heimlich maneuver, and how to stop severe bleeding. These actions provide the most immediate and impactful support during an emergency.
- Ensure your equipment is always ready: A life-saving device is only effective if it works. Make routine AED maintenance—checking batteries, pads, and readiness indicators—a non-negotiable part of your safety protocol to guarantee it’s prepared when you need it.
- Build confidence through hands-on training: Reading articles is helpful, but certified training is what prepares you to act decisively under pressure. Commit to getting certified and renewing it regularly to keep your skills sharp and reliable.
Related Articles
Disclaimer for information purposes only:
The information provided on this website is intended for general educational and informational purposes only. It is not medical advice and should not be used as a substitute for professional diagnosis, treatment, or care. Always consult a qualified healthcare or medical professional regarding any health-related questions or concerns.
While we strive to ensure the information shared is accurate and up to date, no guarantees are made regarding completeness, accuracy, or applicability to any individual situation. Use of this content is at the reader’s sole discretion and risk.
This website is part of the Response Ready family of emergency preparedness and training resources, including CPR & first aid training and compliance services, AED sales and program support, AED program management software, and medical oversight solutions provided through our affiliated platforms:
• CPR1.com
• AEDLeader.com
• ResponseReady.com
• MDSIMedical.com
By accessing or using this website, you agree to release, indemnify, and hold harmless the website owners, authors, contributors, and affiliated entities from any claims, losses, damages, or liabilities arising from the use or reliance on the information presented.