You probably know the basics of using an AED: turn it on and apply the pads to the chest. But what happens when the person is a small child? Or what if you see a scar and feel a hard lump under the skin—a sign of a pacemaker? These common scenarios change the rules. Knowing the correct AED pad placement is what makes a rescue attempt truly effective. This guide covers it all, from the standard method for adults to the essential front-and-back technique for children. We’ll make sure you’re prepared for any situation you might face.
Key Takeaways
- Adapt pad placement to the person: Use the standard front-and-side (anterior-lateral) position for most adults. For children or adults with pacemakers, switch to the front-and-back (anterior-posterior) method to ensure the pads don’t touch and the shock is delivered safely.
- Ensure a clean connection for the pads: For the AED to work correctly, the pads need direct skin contact. Quickly wipe the chest dry, shave thick hair if necessary, and place pads at least an inch away from any pacemakers to guarantee an effective shock.
- Readiness goes beyond knowing where to place the pads: An AED is only useful if it’s functional. A successful emergency response depends on proactive management, which includes replacing expired pads and batteries and maintaining compliance with local laws.
First Steps in a Cardiac Emergency
When someone collapses, your first instinct might be to rush to their side. Before you do anything, take a moment to assess the situation. The American Heart Association stresses that you must first “ensure the scene is safe for both you and the victim.” Look for immediate dangers like traffic, fire, or electrical hazards. A quick scan can prevent you from becoming a second victim. Once you’ve confirmed the area is safe, check the person for responsiveness. Tap their shoulder and shout, “Are you okay?” If they don’t respond and are not breathing or only gasping, it’s time to act immediately. This initial assessment takes only a few seconds but is a critical first step in any emergency response plan.
The Correct CPR and AED Sequence
After determining the person is unresponsive and not breathing normally, the next steps depend on who has collapsed and whether you saw it happen. The sequence of actions—calling 911, starting CPR, and using an AED—is designed to give the person the best possible chance of survival. Having a clear plan and a reliable, ready-to-use AED is essential. This is where having a comprehensive AED program management service becomes invaluable, as it ensures your device is always prepared for this moment. Knowing the correct protocol for the specific situation you’re facing will help you act with confidence and efficiency when every second counts.
For Adults and Witnessed Child Collapse
If you see an adult or child suddenly collapse, the protocol is straightforward: call 911 immediately, then send someone to get the AED. If you are alone, put your phone on speaker while you call 911 so you can start chest compressions right away. Begin high-quality CPR by pushing hard and fast in the center of the chest. As soon as the AED arrives, turn it on and follow the voice prompts. The device will guide you on where to place the pads. According to defibrillator manufacturer ZOLL, you should “place one pad on the upper right side of the chest, just below the collarbone. The other pad goes on the lower left side of the chest.” Continue following the AED’s instructions until emergency medical services arrive.
For Unwitnessed Child Collapse
The procedure changes slightly if you find a child who is already unresponsive and you did not see them collapse. In this scenario, the cause is more likely to be a breathing problem than a sudden cardiac event. Because of this, the immediate priority is to get oxygen circulating. The recommended approach is to “call 9-1-1 on speakerphone, do 2 minutes of CPR, then go get an AED.” This ensures the child receives immediate life support before you pause to retrieve the device. After two minutes of compressions and rescue breaths, retrieve the AED and follow its instructions exactly as you would for an adult, using pediatric pads if available.
Powering On the AED
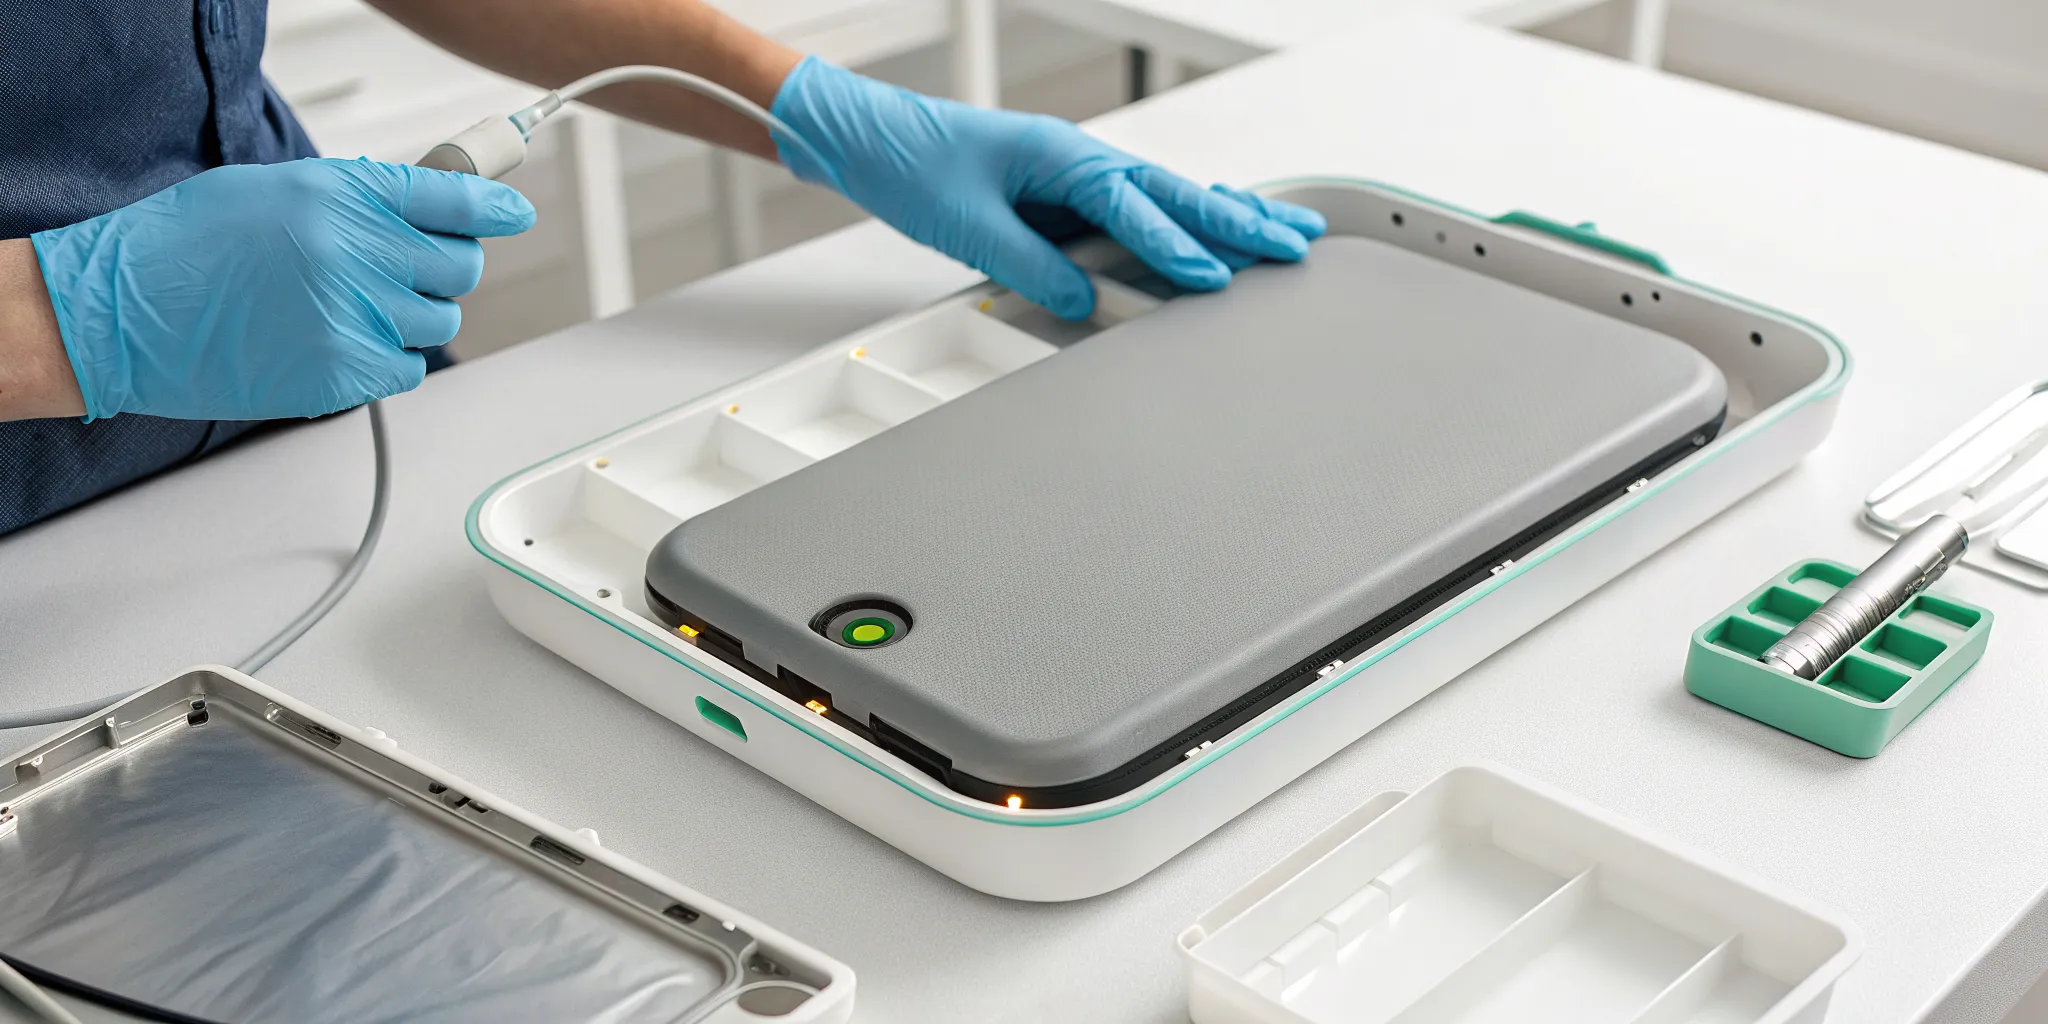
Once the AED is by your side, your first action is to open the case and turn it on. Most devices have a clear green or red power button. The moment you power it on, the machine comes to life. As one training video explains, “Once the AED is there, open it and turn it on. It will give you spoken instructions.” These voice prompts are your guide, designed to be clear, calm, and simple to follow. The AED will walk you through every single step, from applying the pads to the person’s bare chest to when to administer a shock. You don’t need to be an expert; you just need to listen and follow directions. This user-friendly design is what makes AEDs such powerful tools for anyone, regardless of their medical background.
How an AED Works
An Automated External Defibrillator, or AED, is a sophisticated yet easy-to-use medical device that can save a life during sudden cardiac arrest. At its core, an AED is designed to “read a person’s heart rhythm and deliver an electric shock if needed to restart the heart.” When the heart’s electrical activity becomes chaotic (a condition called ventricular fibrillation), it can no longer pump blood effectively. The AED analyzes this rhythm through the pads placed on the chest and determines if a controlled electrical shock, or defibrillation, can restore a normal heartbeat. The device handles all the analysis, removing the guesswork and empowering a bystander to deliver life-saving care.
Semi-Automatic vs. Fully-Automatic AEDs
When you shop for an AED, you’ll find two main types: semi-automatic and fully-automatic. Both are highly effective, and the difference lies in how the shock is delivered. A semi-automatic AED will advise a shock and then prompt you to press a flashing button to deliver it. A fully-automatic model, on the other hand, will provide a verbal warning and a countdown before delivering the shock on its own. As AED Advantage notes, “Some AEDs have a button you press, while others give the shock automatically after warning everyone to stand clear.” The choice between them often comes down to user preference and workplace protocols, but both are designed to be incredibly straightforward in a high-stress situation.
The Analysis Phase: Why You Must Stand Clear
After the pads are correctly placed on the bare chest, the AED will announce that it is analyzing the person’s heart rhythm. During this critical phase, it is vital that no one touches the person. The device is detecting the heart’s faint electrical signals, and any movement or contact can interfere with the reading, potentially leading to an incorrect analysis. The AED will give a clear verbal warning, such as “Analyzing, do not touch the patient.” As experts advise, “It’s very important that NO ONE touches the person during this time.” Once the analysis is complete, the AED will either advise that a shock is needed or instruct you to continue CPR, ensuring the right action is taken at the right time.
Where Do AED Pads Go on an Adult?
When someone suffers a sudden cardiac arrest, every second counts. The good news is that modern AEDs are designed to be used by anyone, with clear voice prompts and diagrams to guide you through every step. The most critical part of the process is placing the electrode pads correctly so the device can analyze the heart’s rhythm and deliver a shock if needed. Proper placement ensures the electrical current travels directly through the heart muscle, giving the person the best possible chance of survival.
While the situation is undoubtedly stressful, remember that the AED is your partner in the rescue. It will tell you exactly what to do, from when to apply the pads to when to stand clear. Your job is to follow its instructions calmly and quickly. Understanding the basics of pad placement ahead of time can give you the confidence to act decisively without hesitation. This knowledge is a core part of any effective emergency response plan, ensuring your team is prepared to use these life-saving devices correctly when it matters most. Think of it as building muscle memory for an emergency—the more familiar you are with the process, the more automatic your response will be.
Your Go-To Method: Anterior-Lateral Placement
The most common and recommended method for placing AED pads on an adult is called the anterior-lateral position. “Anterior” refers to the front of the body, and “lateral” refers to the side. This placement creates a direct pathway for the electrical current to flow through the heart.
Here’s how it works:
- One pad goes on the upper right side of the chest, just below the collarbone.
- The other pad goes on the lower left side of the chest, under the armpit and to the side of the left breast.
You don’t have to rely on memory alone in a high-stress moment. The diagrams printed on the AED pads themselves will always show you exactly where they should go.
Placing the Pads: A Simple Walkthrough
When you open an AED, the pads are usually already connected to the device. Just follow the voice prompts and the pictures on the pads.
- Expose the chest. Quickly remove or cut away any clothing covering the person’s chest so you have access to bare skin.
- Peel the backing from one pad. Look at the diagram on the pad.
- Place the first pad on the upper right side of the chest, just below the collarbone.
- Peel the backing from the second pad.
- Place the second pad on the lower left side of the chest, under the armpit. For women, this will be below and to the side of the breast.
The American Heart Association provides detailed guidelines that reinforce this simple, effective placement.
Skin Prep: The First Step to Good Contact
For an AED to work correctly, the pads need to make firm, direct contact with the skin. Before applying them, take a quick second to check the chest area.
- Is the chest wet? If the person was pulled from water or is sweaty, quickly wipe the chest dry. Water can interfere with the electrical current.
- Is there thick chest hair? If the chest has a lot of hair where the pads need to go, it can prevent good adhesion. Most AED response kits include a small razor to quickly shave the area.
- Apply the pads smoothly. Press each pad firmly onto the skin, starting from one edge and rolling it on to prevent air bubbles from getting trapped underneath. This ensures a solid connection for the shock.
Why Dry Skin Helps Prevent Burns
Electricity follows the path of least resistance, and water is an excellent conductor. If the skin is wet from sweat, rain, or being pulled from a pool, the AED’s electrical current can travel across the skin’s surface between the two pads instead of going through the heart. This not only makes the shock ineffective but can also lead to serious skin burns. Taking a moment to quickly wipe the chest dry is a critical step. It ensures the life-saving energy is directed where it needs to go—to the heart—and protects the person from unnecessary harm, which is a key part of a well-managed AED program.
AED Pad Placement for Children and Infants
When responding to a sudden cardiac arrest in a child or infant, the steps are similar to those for an adult, but with a few critical differences. The most important distinction involves the size of the AED pads and where you place them on the body. Using the correct equipment and technique is essential for delivering a safe and effective shock to a smaller person. Knowing these adjustments beforehand will give you the confidence to act quickly and correctly when it matters most.
Adult vs. Pediatric Pads: What’s the Difference?
The first step is to check if your AED has pediatric pads. These smaller pads are designed specifically for children under 8 years old or weighing less than 55 pounds. Pediatric pads are crucial because they deliver a weaker, more appropriate shock that is safer for younger patients. Some AED models also use a special key or switch to activate a pediatric setting, which reduces the energy level of the shock. If you have pediatric pads available, always use them for a young child. If you don’t, it’s better to use adult pads than to do nothing at all—just be sure they don’t touch each other.
Understanding Recommended Pad Sizes
Pad size isn’t just about fit; it’s about effectiveness. For an adult, the ideal pad is between 8 and 12 centimeters wide, as a larger surface area helps the electrical current travel through the heart muscle properly. For children, the rules are more specific. You should always use pediatric pads for anyone under 8 years old or weighing less than 55 pounds. When applying them, choose the largest size possible for the child’s chest, but make sure to leave at least an inch of space between the pads so they don’t touch. This prevents the shock from arcing across the skin instead of reaching the heart. Keeping both adult and pediatric electrode pads stocked and unexpired is a non-negotiable part of any well-managed AED program.
The Front-and-Back (Anterior-Posterior) Method
Because a child’s chest is so small, the standard adult pad placement often doesn’t work—the pads would be too close together or even overlap. Instead, you’ll use the anterior-posterior, or front-and-back, method. This approach ensures the heart is positioned directly between the two pads. To do this, place one pad on the front of the chest and the other pad on the center of the child’s back. This defibrillator pad placement prevents the pads from touching and allows the electrical current to flow through the heart effectively. Always follow the diagrams on the pad packaging for visual guidance.
When Should I Use Pediatric Pads?
The guidelines for using pediatric pads are clear and should be followed whenever possible. The official recommendation is that pediatric pads should be used for any child under 8 years old or weighing less than 55 pounds (25 kg). This rule exists to make sure the level of electrical energy delivered is appropriate for the child’s smaller body mass. Using adult pads on a very small child could deliver too much energy, while using pediatric pads on an adult wouldn’t be strong enough. Adhering to these age and weight parameters is a key part of a safe and successful rescue attempt, ensuring the patient receives the right level of care for their size.
Anterior-Lateral vs. Anterior-Posterior: What’s the Difference?
When you open an AED, the pads will have diagrams showing you where to place them. You’ll typically see two standard options: anterior-lateral and anterior-posterior. While both are designed to get an electrical current through the heart, they are used in different situations. Think of them as two different routes to the same destination.
The anterior-lateral placement is the most common method for adults. This is the one you’ve likely seen in training videos. One pad goes on the upper right side of the person’s chest, just below the collarbone. The other goes on their lower left side, a few inches below the armpit. This creates a clear pathway for the shock to travel through the heart muscle.
The anterior-posterior placement involves putting one pad on the front of the chest and the other on the back. The front pad goes on the center of the chest, and the back pad is placed directly behind it, between the shoulder blades. This method is the standard for children and is also used for adults who have an implanted medical device like a pacemaker.
Detailed Anterior-Posterior Placement for Adults
While the front-and-side placement is standard for most adults, there’s a key exception: implanted medical devices. If you see a surgical scar on the upper chest or feel a hard lump under the skin—signs of a pacemaker or ICD—you’ll need to use the front-and-back method. Placing a pad directly over an implant can block the shock and potentially damage the device. The anterior-posterior placement creates a safe and effective path for the electricity. Just place one pad on the center of the chest and the other on the back, between the shoulder blades. This simple adjustment ensures the heart is positioned directly between the pads so the shock can be delivered without interference. Knowing how to handle these common scenarios is a critical part of any well-managed emergency response program.
Which Placement Method Should You Use?
Choosing the right placement is straightforward once you know the rules. For most adults, you’ll default to the standard anterior-lateral (front-and-side) method. It’s effective and easy to remember.
However, you’ll switch to the anterior-posterior (front-and-back) method in two key scenarios. The first is for children under 8 years old or weighing less than 55 pounds. Placing one pad on the chest and one on the back prevents the pads from being too close together on a small body. The second scenario is for an adult with a pacemaker or defibrillator, which you can often feel as a hard lump under the skin in the upper chest. The front-and-back placement helps you avoid placing an AED pad directly over the device, which could interfere with the shock.
Does Placement Affect Safety and Success?
Yes, absolutely. Proper pad placement is one of the most critical factors for a successful outcome. The entire goal of defibrillation is to send a controlled electrical shock through the heart to reset its rhythm. For this to work, the heart must be directly in the path of the electricity. When the pads are positioned correctly, they create a perfect channel for the current to flow right where it needs to go.
If the pads are too close together, too far apart, or in the wrong spots, the electrical current might not pass through enough of the heart muscle. This can result in an ineffective shock, which wastes precious time and dramatically reduces the person’s chance of survival. Following the simple diagrams on the pads and understanding the difference between the two placement methods ensures the AED can do its job effectively and safely.

AED Pad Placement in Special Situations
Real-life emergencies don’t always fit the textbook examples. You might need to use an AED on someone with a medical implant, or in a situation where the standard pad placement seems tricky. Knowing how to handle these common variations is a crucial part of being prepared. For example, questions often come up about using an AED on women, especially if they are pregnant. The core principles remain the same—clear the chest, apply the pads firmly, and follow the AED’s instructions—but a few simple adjustments can make all the difference. Being confident in these special situations ensures you can provide effective help to anyone, regardless of their specific circumstances.
Technique for Women
When placing AED pads on a woman, the goal is the same: create a direct path for the electrical current to pass through the heart. You’ll still use the standard anterior-lateral placement. Place one pad on the upper right side of the chest, just below the collarbone. The second pad goes on the lower left side of the torso, under the armpit and to the side of the breast. It’s important to avoid placing the pad directly on top of breast tissue, as this can interfere with the shock’s effectiveness. If needed, you can gently lift the breast to position the pad correctly on the chest wall. This placement allows the electrical current to flow through the heart muscle effectively, maximizing the chances of a successful shock.
Placement on Pregnant Women
It’s a question that causes a lot of hesitation: is it safe to use an AED on a pregnant woman? The answer is an unequivocal yes. A sudden cardiac arrest is a threat to both the mother and the baby, and the priority is to save the mother’s life. The pad placement is the same as for any other adult—the anterior-lateral position. Place one pad on the upper right chest and the other on the lower left side, under the armpit. Be mindful to keep the pads on the chest and away from the abdomen. The AED is designed to deliver a localized shock to the heart, and following the correct defibrillation pad placement ensures the safety of both mother and baby while giving them the best possible chance of survival.
Important Safety Checks for AED Pad Placement
When you’re in an emergency, it’s easy to forget the small details. But a few quick safety checks can make all the difference. Before you apply AED pads, taking a few seconds to scan the person and the environment is critical. These precautions protect both the person in cardiac arrest and you, the rescuer. From handling pacemakers to ensuring the pads have good contact with the skin, these steps ensure the AED can do its job effectively and safely.
What About Jewelry and Pacemakers?
You don’t need to waste time removing jewelry, just make sure the pads aren’t placed directly on top of any metal. For pacemakers or other implanted devices, you might see or feel a hard lump under the skin, usually on the upper chest. It’s crucial to avoid placing a pad directly over it. Instead, position the pad at least one inch away from the device. This ensures the electrical shock doesn’t interfere with the implant and travels to the heart as intended. Proper AED pad placement is key in these situations.
Removing Metal Jewelry and Piercings
A common question is whether you need to remove necklaces or piercings before applying AED pads. The short answer is no—don’t waste precious seconds trying to undo a clasp. The most important rule is to avoid placing a pad directly over any metal. If a necklace is in the way, simply move it to the side. For piercings on the chest, apply the pad at least an inch away from the metal. This prevents the metal from conducting the electrical current and causing burns, ensuring the shock is delivered effectively to the heart. This is another small but critical detail that highlights the importance of comprehensive training, a key component of any successful AED program management plan.
Is the Area Safe? Checking for Water and Hazards
Electricity and water are a dangerous mix. Before applying AED pads, move the person out of any standing water. If their chest is wet from sweat or rain, quickly wipe it dry. Wet skin can cause the electrical current to travel across the skin’s surface instead of through the heart, making the shock ineffective. This also poses a safety risk to you and other bystanders. Taking a moment to dry the chest is a non-negotiable step for a safe rescue.
Prohibited Scenarios: Moving Vehicles and Metal Surfaces
Beyond water, there are a couple of other environments where using an AED is a definite no-go: moving vehicles and conductive surfaces like metal. Attempting to use an AED in a moving car or ambulance is unsafe because the vibrations can interfere with the device’s ability to accurately analyze the heart’s rhythm. This could lead to a failed analysis or an incorrect recommendation. Always pull the vehicle over and come to a complete stop before allowing the AED to analyze. Similarly, avoid using an AED if the person is on a metal surface, such as bleachers or a metal floor. Metal conducts electricity, which means the shock could travel across the surface instead of through the heart, creating a serious safety hazard for everyone nearby and rendering the shock ineffective.
Ensuring Good Pad-to-Skin Contact
For an AED to work, the pads need full, firm contact with the skin. After ensuring the skin is dry, peel the backing off and apply each pad firmly. A good technique is to roll the pad onto the skin, smoothing it down to prevent air bubbles. Air gaps can lead to skin burns and interfere with the shock. Press down on the entire surface of each pad to ensure it’s completely stuck before the AED analyzes the heart rhythm. This is a critical part of correct defibrillator pad placement.
Applying Firm Pressure for a Secure Fit
For an AED to deliver an effective shock, the pads need to make complete and firm contact with the skin. Think of it like applying a large, heavy-duty bandage—any air bubbles or gaps can cause problems. Poor contact can lead to skin burns and, more importantly, prevent the electrical current from reaching the heart properly. To get a secure fit, peel the backing off, apply the pad starting from one edge, and smooth it firmly across the skin to push out any air. Once it’s on, press down on the entire surface with the palm of your hand to ensure it’s fully adhered before the AED begins its analysis.
Avoid These Common AED Placement Mistakes
Two common issues can prevent pads from sticking: excessive chest hair and incorrect sizing on children. If a person has a lot of chest hair, the pads may not adhere. Most AED response kits include a razor for this reason—quickly shave the areas where the pads will go. For children, the biggest mistake is letting the pads touch. If you only have adult pads, use the front-and-back placement. This ensures the pads are far enough apart to deliver a safe shock without overlapping.
What to Do After a Shock Is Delivered
After the AED delivers a shock, your job isn’t over. The most important thing to do is listen to the device. It will give you clear, calm instructions for what to do next. In almost every case, the AED will tell you to immediately resume CPR, starting with chest compressions. This step is critical because while the shock may have stopped the chaotic electrical activity, the heart muscle needs help to start pumping blood effectively again. The AED will continue to analyze the person’s heart rhythm every couple of minutes and will let you know if another shock is needed. Just keep following its lead until emergency medical services arrive and take over.
Why You Shouldn’t Remove the Pads
Once the pads are on, leave them on. It might seem like the action is over after a shock is delivered, but the pads are the AED’s lifeline to the person. They allow the device to continuously monitor the heart’s rhythm. Sudden cardiac arrest is unpredictable, and the heart could slip back into a shockable rhythm at any moment. Keeping the pads in place ensures the AED can detect this change immediately and advise another shock if necessary. Removing them would mean wasting precious seconds reapplying them. Let the professionals handle their removal; your only job is to follow the AED’s instructions until help arrives.
Why Does Correct AED Pad Placement Matter?
When someone suffers a sudden cardiac arrest, every second counts. Having an AED on-site is the first critical step, but knowing how to use it correctly is just as important. Proper pad placement isn’t just a suggestion—it’s the key to making sure the device can do its job effectively. Placing the pads in the right spots ensures the life-saving shock reaches the heart and has the best chance of restoring a normal rhythm. Let’s look at why this single step is so fundamental to a successful rescue.
Understanding the Path of the Electrical Shock
Think of an AED as a tool designed to send a controlled electrical shock to a heart that’s stopped beating correctly. For this to work, the electricity needs a clear and direct path through the heart muscle. Correct pad placement creates this pathway. When you place one pad on the upper right chest and the other on the lower left side, you are essentially creating a highway for the electrical current to travel directly through the heart. If the pads are too close together, too far apart, or in the wrong spots, the shock might not pass through enough of the heart muscle to be effective, reducing the chances of a successful rescue.
How Every Second Counts: Survival Rate Statistics
The statistics surrounding sudden cardiac arrest are sobering and highlight why speed and accuracy are so important. A person’s chance of surviving drops by as much as 10% for every minute that passes without help. When you consider that emergency services can take several minutes to arrive, the role of a bystander with an AED becomes incredibly clear. However, there is a powerful counter-statistic: early CPR combined with using an AED can double or even triple a person’s chance of survival. This is where correct pad placement becomes non-negotiable. An ineffective shock from poorly placed pads wastes precious time, directly impacting those survival odds. A well-managed emergency plan not only provides access to an AED but also ensures your team is prepared to use it correctly when every second is the difference between life and death.
Does Pad Placement Really Impact Survival?
The ultimate goal of using an AED is to save a life, and correct pad placement directly impacts survival rates. When the pads are positioned properly, the shock has the highest probability of defibrillating the heart—that is, stopping the chaotic quivering of ventricular fibrillation and allowing a normal rhythm to resume. An effective shock can dramatically increase the person’s chance of survival. Conversely, an ineffective shock caused by poor pad placement wastes precious time and can lead to a tragic outcome. Getting the placement right gives you the best opportunity to restore a normal heart rhythm and make a real difference when it matters most.
Why AED Training Is a Must
Modern AEDs are designed to be incredibly user-friendly. They come with clear diagrams on the pads and provide calm, step-by-step voice prompts to guide a rescuer through the entire process. While these features mean even an untrained bystander can operate one, nothing replaces the confidence that comes from hands-on training. AED training and certification help you build muscle memory, so you can act quickly and decisively in a high-stress situation without second-guessing your actions. It familiarizes you with the equipment, reinforces correct pad placement, and prepares you to handle common issues, ensuring you can provide the best possible help.
Keeping Your AED Ready for an Emergency
Knowing the correct AED pad placement is a critical first step, but it’s only one part of a successful emergency response plan. An AED is not a “set it and forget it” device. To be effective when an emergency strikes, it requires consistent oversight and maintenance. This means keeping track of supplies, staying current with regulations, and having a clear system in place to ensure your device is always ready to save a life.
Without a solid management plan, even the best-placed AED can fail. The pads could be expired, the battery dead, or the device might not be compliant with local laws, creating serious risks for your organization. True readiness goes beyond the physical location of the device; it’s about the ongoing process that keeps it functional and compliant. Let’s walk through the key components of a well-managed AED program.
Don’t Forget: Check Your Pad Expiration Dates
AED pads don’t last forever. The adhesive gel that helps them stick to the skin and conduct electricity dries out over time, which is why every set of pads has a firm expiration date. Using expired pads can result in a poor connection and prevent the AED from analyzing the heart’s rhythm or delivering an effective shock.
It’s essential to remember that AED pads are strictly for one-time use. Once the package is opened, the pads must be replaced, even if a shock was never delivered. Make it a habit to regularly check the expiration date printed on the pad packaging. A simple calendar reminder or a spreadsheet can help, but as your program grows, an automated system becomes invaluable for tracking and ordering replacement pads and batteries.
Are You Following Local AED Regulations?
Owning an AED comes with legal responsibilities that vary significantly from one place to another. Many states have laws that dictate where AEDs must be placed, how they should be registered with local emergency services, and what maintenance and training records you need to keep. These state and local requirements are designed to protect both the public and AED owners.
Failing to comply can expose your organization to significant liability. It’s your responsibility to understand the specific rules in your area, which might include monthly inspections, physician oversight, and post-use reporting. Staying on top of these regulations is a crucial part of any AED program and ensures you’re meeting your legal and ethical obligations.
Why a Managed Program Keeps You Prepared
Juggling expiration dates, compliance checks, and supply management can quickly become overwhelming, especially for organizations with multiple locations. This is where a managed program makes all the difference. Instead of relying on manual checklists and calendar reminders, a managed service automates every aspect of AED readiness. It provides a clear system of accountability, ensuring that nothing falls through the cracks.
With comprehensive program management, you get automated alerts for expiring pads and batteries, digital inspection tracking, and a clear view of your entire program’s compliance status. This white-glove approach removes the administrative burden and guesswork, giving you confidence that your AEDs are properly maintained, documented, and ready to function when seconds matter most.
Meeting the American Heart Association’s 3-Minute Guideline
The American Heart Association sets a clear and urgent goal: the first shock from an AED should be delivered within three minutes of a person’s collapse. This isn’t an arbitrary number; survival from sudden cardiac arrest can decrease by as much as 10% for every minute that passes without defibrillation. This tight timeline leaves no room for hesitation. Knowing exactly where to place the pads, how to prep the skin, and how to handle special situations becomes absolutely critical. It’s not just about having an AED nearby; it’s about being able to use it efficiently under pressure, which is why correct pad placement is so fundamental.
Meeting this guideline is a direct result of a well-prepared emergency response plan. This is why simply having an AED isn’t enough. A comprehensive program ensures your device is always ready, with unexpired pads and a charged battery, and that your team has the training to act without delay. When your team can confidently grab the AED, apply the pads correctly on the first try, and follow the prompts, you’re not just following steps—you’re saving valuable seconds. This is the core of what a managed AED program provides, turning a chaotic event into a series of clear, life-saving actions.
Related Articles
- AED Pad Placement: The Right Way to Position Pads for Safety
- Special Considerations When Using an AED: Essential Safety Tips
- AED Cost Explained – Your Questions Answered
- HeartSine Samaritan PAD 350P Review: A Top-Rated AED for Every Space
Frequently Asked Questions
What should I do if I only have adult pads for a child? If you find yourself in a situation where a child needs an AED but you only have adult pads, you should still use them. The most important thing is to make sure the pads do not touch each other. To do this, use the front-and-back placement method: place one pad in the center of the child’s chest and the other in the center of their back, between the shoulder blades. It is always better to use an AED with adult pads than to not use one at all.
What happens if I place the pads incorrectly? Proper placement is essential because it creates a direct path for the electrical current to travel through the heart. If the pads are in the wrong spots or too close together, the shock may not pass through enough of the heart muscle to be effective. This can waste precious time and significantly lower the person’s chance of survival, as the AED may not be able to restore a normal heart rhythm.
Do I really need to shave a hairy chest before applying the pads? Yes, if you have a razor available. Thick chest hair can prevent the pads from sticking firmly to the skin, which is necessary for the AED to work correctly. A poor connection can interfere with the device’s ability to analyze the heart’s rhythm and can also cause the electrical shock to be less effective. Most AED kits come with a small razor for this exact reason, so a quick shave of the pad placement areas is a critical step.
How do I handle pacemakers or other medical implants? You can still safely use an AED on someone with a pacemaker or another implanted medical device. You can often see or feel a small, hard lump under the skin, usually on the upper chest. The key is to avoid placing an AED pad directly on top of it. Simply position the pad at least one inch away from the device to ensure the shock is delivered effectively to the heart without interfering with the implant.
Why is it so important to replace AED pads after they’re used or expired? AED pads have a limited shelf life because the adhesive gel that allows them to stick to the skin and conduct electricity dries out over time. Using expired pads can lead to a poor connection, which may prevent the AED from delivering a life-saving shock. Pads are also designed for a single use only; once the package is opened, they must be replaced to ensure the next rescue is just as effective. Keeping track of these dates is a core part of being prepared.