During a sudden cardiac arrest, the clock is your biggest enemy. Survival chances drop by about 10% for every minute that passes without defibrillation. This is why the question of what should be the maximum "drop to shock time" for aeds? is so critical. The goal is always under three minutes. A poorly placed AED, hidden in a back room or an obscure hallway, makes that goal impossible. Following the correct aed mounting guidelines ensures your device is not just compliant, but positioned for the quickest possible response. This guide will show you how to identify the most effective locations, turning your AED program into a system built for speed.
Key Takeaways
- Compliance Is the Foundation of Accessibility: Follow ADA guidelines by mounting the cabinet handle no higher than 48 inches from the floor and ensuring it doesn’t protrude more than four inches into a walkway. This makes sure anyone, including a person in a wheelchair, can access the device without delay.
- Visibility Dictates Response Time: Place your AED in a central, high-traffic location with clear, directional signage. The goal is a three-minute “drop-to-shock” time, which is only possible if a rescuer can find the device without a moment’s hesitation.
- A Mounted AED Is Only the First Step: An effective program goes beyond installation. Create a system for regular inspections, detailed record-keeping for compliance, and consistent team training to ensure your device is always ready and your people are prepared to act.
Why AED Placement is So Critical
When someone experiences a sudden cardiac arrest (SCA), the environment around them instantly becomes a critical factor in their survival. The single most important tool is an Automated External Defibrillator (AED), but its effectiveness is almost entirely dependent on how quickly it can be used. This is why the physical placement of your AED isn’t just a logistical detail—it’s the cornerstone of your entire emergency response plan. An AED tucked away in a locked office or a forgotten storage closet is nearly as useless as not having one at all. The goal is to create an environment where a rescuer can retrieve and apply the device in moments, because in a cardiac emergency, there is no time to spare.
The Reality of Sudden Cardiac Arrest
Sudden cardiac arrest is a leading cause of death in the United States, and unlike a heart attack, it can strike anyone, at any time, regardless of age or health status. It occurs when the heart’s electrical system malfunctions, causing it to stop beating unexpectedly. The only effective treatment is an electrical shock from a defibrillator, which can restore a normal heart rhythm. Because SCA is so unpredictable, having AEDs readily available in public spaces, offices, and schools is not just a good idea—it’s an essential part of public safety. A well-placed AED turns a bystander into a first responder, giving them the power to intervene and save a life while waiting for medical professionals to arrive.
SCA in Workplaces and Schools
In environments like workplaces and schools, the stakes are incredibly high. The American Heart Association emphasizes that an AED should be used within three to five minutes of a person’s collapse. This is because for every minute that passes without a defibrillating shock, the chance of survival plummets by about 10%. Think about that in the context of your building’s layout. Can someone grab the AED and return to the victim in under three minutes? If the answer is no, your placement strategy needs a serious review. Proper placement ensures you meet this critical window, giving a colleague or student the best possible chance of survival.
The Challenge of Slow Response Times
The numbers don’t lie: if an AED shock is administered in the first minute after collapse, the survival rate is as high as 90%. However, that rate drops to 74% if the shock is given after three minutes. This steep decline highlights the immense challenge posed by slow response times. Waiting for paramedics is crucial, but their average response time can often exceed the most effective window for defibrillation. This gap is precisely why on-site AEDs are so vital. A slow response, whether due to a hidden device, unclear signage, or bystander hesitation, can erase the life-saving potential of your equipment. Every second spent searching for the AED directly reduces the person’s chance of survival.
What is “Drop to Shock” Time and Why Does It Matter?
In the world of emergency preparedness, “drop to shock” time is a key performance indicator for your AED program. The term refers to the total time between the moment a person collapses from SCA (“drop”) and the moment the first defibrillating shock is delivered (“shock”). This entire sequence—recognizing the emergency, calling for help, retrieving the AED, applying the pads, and delivering the shock—should ideally take less than three minutes. This three-minute benchmark isn’t arbitrary; it’s based on extensive medical data showing that rapid defibrillation is the most critical factor for survival. Achieving this goal is impossible without strategic AED placement, making it the foundation of an effective response plan.
How Survival Rates Decline by the Minute
The urgency of the three-minute window becomes crystal clear when you look at how quickly survival chances diminish. Every minute that passes without defibrillation reduces the likelihood of survival by 7% to 10%. After just five minutes, the chances can be less than 50%, and by the ten-minute mark, survival is rare. This rapid decline illustrates that an AED program is truly a race against the clock. Your placement strategy should be designed to shave off every possible second from the response time. Thinking through high-traffic areas, central locations, and potential points of failure helps ensure your team can meet that critical “drop to shock” goal and give someone the best odds of going home to their family.
Expert Guidelines on Response Time
Medical experts and organizations like the American Heart Association are unified in their guidance: the goal is to get an AED to the person and use it within three minutes. This recommendation shapes industry best practices for everything from device placement to staff training. To meet this standard, your AED must be visible, accessible, and clearly marked. It also means your team needs to be prepared to act without hesitation. Running drills and ensuring everyone knows the location of the nearest AED are just as important as the initial installation. A comprehensive AED program management service can help you map out these critical locations and implement a system that ensures your organization is always ready to meet this life-saving timeline.
The Role of Bystander AED Use
Ultimately, the goal of any AED program is to empower the people on-site to act. Research consistently shows that when a bystander uses an AED before emergency medical services arrive, the person’s chance of survival can double. This incredible statistic underscores the importance of making your AEDs accessible to everyone, not just a designated response team. A well-placed, clearly signed AED turns colleagues, visitors, and even passersby into potential lifesavers. By removing barriers to access and creating a culture of preparedness, you build a stronger, more resilient safety net for everyone in your facility, ensuring that help is never more than a few moments away.
What’s the Right Height for Your AED?
When you’re installing an AED, its placement is just as critical as the device itself. Mounting an AED cabinet isn’t about finding any open wall space; it’s about ensuring the device is accessible to everyone during an emergency while meeting legal compliance standards. The primary guidelines come from the Americans with Disabilities Act (ADA), which sets clear rules for how high an AED should be mounted and how far it can protrude from a wall.
Following these requirements ensures that a person in a wheelchair can reach the device and that the cabinet doesn’t create a hazard for people with visual impairments. Getting the height right means you’re removing potential barriers to a life-saving rescue. Think of it as the first step in a successful emergency response—making sure the equipment is ready and reachable for anyone who needs to act. Let’s break down the specific rules you need to follow to keep your program compliant and effective.
Follow the 48-Inch ADA Guideline
The most important measurement to remember for AED placement is 48 inches. According to ADA standards, the highest operable part of the AED cabinet, which is typically the handle or latch, should be no more than 48 inches from the floor. This isn’t a suggestion—it’s a firm requirement for accessibility.
When installing your cabinet, measure from the finished floor to the spot where the handle will be. This specific height ensures that most adults, including those with physical limitations, can open the cabinet without difficulty. By adhering to this simple rule, you make your AED accessible to a wider range of potential rescuers, which is crucial when every second counts.
Ensure Easy Access for Wheelchair Users
The 48-inch rule exists for one primary reason: to ensure wheelchair accessibility. An emergency can happen at any time, and the person best positioned to help might be someone who uses a wheelchair. The guideline specifies that “the height to reach the handle of an automated external defibrillator (AED) in a public gathering place shall be no more than 48 inches high.”
This standard is based on the maximum forward and side reach capabilities of an average adult in a wheelchair. Placing the handle any higher could make it impossible for someone to access the device. Proper mounting height is a fundamental part of an inclusive safety plan, confirming that anyone who is willing to help has the ability to do so.
Keep Hallways Clear: Understanding Protrusion Limits
Beyond height, the ADA also has rules about how far an object can stick out from a wall. An AED cabinet should not become an obstacle in a hallway or corridor. The rule states that objects mounted between 27 and 80 inches from the floor cannot protrude more than four inches into a pathway.
This is especially important for protecting individuals who are blind or have low vision. If your chosen AED cabinet extends more than four inches, you’ll need a different solution. You can either place it in a recessed or semi-recessed enclosure or install it in a location away from the main path of travel, like in an alcove. Choosing the right AED cabinet from the start can help you meet this requirement easily.
Where Does the ADA Say to Place Your AED Cabinet?
Placing an AED cabinet correctly is about more than just finding an empty spot on the wall. It’s about ensuring that every single person, regardless of their physical ability, can access it during an emergency. The Americans with Disabilities Act (ADA) provides clear standards to guarantee this accessibility. Following these guidelines isn’t just a matter of compliance; it’s a fundamental part of creating a response-ready environment where life-saving equipment is within everyone’s reach.
When you think about placement, consider the entire path a rescuer might take. Is it clear? Is the device easy to see and grab? The ADA standards for accessible design address these critical questions by focusing on reach, clearance, and visibility. Getting these details right ensures your AED program is truly effective and inclusive, removing physical barriers that could cost precious seconds during a sudden cardiac arrest. Let’s walk through the three core components you need to get right.
Position the Handle for Easy Reach
The most critical measurement for AED placement is the handle height. According to ADA guidelines, the handle used to open the AED cabinet must be no more than 48 inches from the floor. This specific height ensures that an individual in a wheelchair or a person of shorter stature can comfortably reach and open the cabinet without assistance. It’s a straightforward rule with a life-saving purpose.
Imagine a rescuer trying to access an AED that’s mounted too high—the delay could be devastating. By adhering to the 48-inch maximum, you eliminate that barrier. When installing your cabinet, always measure from the finished floor to the highest point of the handle or opening mechanism. This simple step is a non-negotiable part of a compliant and accessible AED program, and our program management services can help you verify every device is placed correctly.
Leave Plenty of Clear Floor Space
An accessible AED needs a clear path. The ADA specifies that an AED cabinet cannot protrude more than four inches from the wall into any walkway, corridor, or aisle. This rule is designed to prevent the cabinet from becoming a hazard, especially for individuals with visual impairments who might not detect an object jutting into their path. A recessed or semi-recessed cabinet is often the best solution for meeting this requirement in narrow hallways.
Beyond the protrusion limit, you also need to maintain clear floor space in front of the unit. This ensures a rescuer, including someone in a wheelchair, has enough room to approach the cabinet, open it, and remove the AED without obstruction. Think of it as creating a dedicated, obstacle-free zone that guarantees quick and easy access when every second counts.
Add Visual and Tactile Signs
An AED is useless if no one can find it. That’s why clear visual cues are a key part of ADA-compliant placement. Your AED should be accompanied by highly visible signage that uses the universal ILCOR AED symbol. These signs should be placed directly above the cabinet and at decision points, like hallway intersections, to guide people to the device’s location.
Proper lighting is also essential. The area around the AED cabinet should be well-lit so the device and its signage are easily visible, even in a power outage or chaotic situation. For enhanced accessibility, consider adding tactile signage with Braille. Combining clear signs, good lighting, and other visual aids from our online shop ensures that everyone in your facility can locate the AED quickly and confidently.
Where to Mount Your AED for the Fastest Response Time
When someone experiences sudden cardiac arrest (SCA), every second is critical. The chance of survival decreases by about 10% for every minute that passes without defibrillation. That’s why the placement of your Automated External Defibrillator (AED) is just as important as having one. The goal is to create a “drop-to-shock” time of less than three minutes. This means a rescuer should be able to retrieve the AED and return to the person in need within that window. Strategic placement isn’t just about checking a box for compliance; it’s about creating a clear, fast path to a life-saving device. Let’s walk through how to identify the best spots in your facility.
Place it in High-Traffic, Central Spots
The most effective place for an AED is where people are most likely to be. Think about the natural flow of your building and identify the central hubs and high-traffic zones. These are often the most logical and accessible locations for mounting your device. Placing an AED in a busy, visible area ensures more people know where it is and can get to it quickly.
Start by walking through your facility and mapping out these key spots. Common examples include main lobbies, reception desks, employee break rooms, cafeterias, and fitness centers. By placing AEDs in these central locations, you make them a visible and integrated part of your safety plan, rather than an afterthought hidden in a remote hallway.
Apply the 90-Second Rule
A great way to test your AED placement is by using the 90-second rule. This guideline suggests a rescuer should be able to walk to the AED and return to the victim’s side in under three minutes total—that’s 90 seconds each way. It’s a practical test that moves beyond just looking at a floor plan and forces you to consider real-world obstacles like navigating crowded corridors, unlocking doors, or waiting for an elevator. When you manage an AED program, physically walking these routes is the best way to confirm your placement truly supports a rapid response and isn’t just compliant on paper. This simple drill can reveal blind spots in your plan and ensure your device is truly accessible when it matters most.
Consider Your Building’s Unique Layout
Every building has unique needs, and your AED placement strategy should reflect that. A multi-floor office building has different requirements than a sprawling warehouse or a school campus. For example, in a corporate office, consider placing AEDs near large conference rooms, auditoriums, or on-site gyms where SCA is more likely to occur.
In a school, you’d want devices near the gymnasium, cafeteria, and the main administrative office. For industrial settings like warehouses or manufacturing plants, place AEDs in central locations on the floor, ensuring they are not blocked by equipment or inventory. The key is to analyze your specific environment and identify the areas with the highest risk and greatest concentration of people. This tailored approach ensures your AED is always within reach when it matters most.
Got Multiple Floors? Have a Plan.
For larger or multi-story buildings, a single AED is rarely enough. A good rule of thumb is the three-minute test: can someone retrieve the AED and return to the victim anywhere in your facility in under three minutes? If the answer is no, you likely need additional devices. For buildings with multiple floors, the standard best practice is to have at least one AED on each level, typically in a central location like near the elevator bank or main stairway.
This approach creates a network of coverage, ensuring that no matter where an emergency happens, a device is close by. Proper placement guidance is a core part of a successful AED program, transforming your plan from a simple equipment checklist into a life-saving system that protects everyone in your building.

How Can You Make Your AED Easy to Find?
When a sudden cardiac arrest occurs, every second is critical. A perfectly maintained AED is useless if no one can find it. That’s why visibility is just as important as the device itself. During an emergency, people are under immense stress, and their ability to think clearly and search for equipment is limited. Your goal is to make your AED so obvious that a first-time visitor could locate it without a moment’s hesitation.
Think of it from the perspective of someone in a panic. Are there clear, simple cues guiding them? Is the path unobstructed? Placing an AED is more than just mounting a box on a wall; it’s about creating a clear visual pathway that cuts through the chaos of an emergency. A well-thought-out placement strategy considers sightlines, traffic flow, and human behavior under pressure. This is a core part of a successful AED program, ensuring your device is not just compliant, but truly response-ready. By making your AED easy to spot, you remove a major barrier to a fast response and give a potential rescuer the confidence to act quickly. It’s a simple step that can have a life-saving impact.
Make it Obvious with Clear Signage
The AED cabinet itself is a start, but you can’t rely on it alone. You need to guide people to its location with clear and consistent signage. The last thing anyone needs during a crisis is to go on a scavenger hunt. Use bright, standardized signs with the universal AED symbol to point the way from major entryways and common areas. Place directional signs at eye level in hallways and at intersections, leaving no doubt about where to go. For long corridors, a 3D or V-shaped sign that projects from the wall can be seen from a distance, saving precious time.
Is it Well-Lit and Easy to See?
An AED hidden in a dimly lit corner is as good as gone. The area around your AED cabinet should be well-lit 24/7, ensuring it’s visible even during a power outage if you have emergency lighting. Also, think about visual contrast. A brightly colored cabinet mounted on a neutral-colored wall will immediately draw the eye. Avoid placing it on a visually cluttered wall or behind furniture, plants, or other decorations. The goal is to make the AED cabinet pop, so it’s the first thing someone notices when they scan the room for help. You can find a variety of high-visibility cabinets and signs to fit your space.
Plan for Both Indoor and Outdoor Placements
Where you place your AED depends heavily on the environment. Indoors, prioritize high-traffic and high-risk areas. Lobbies, cafeterias, fitness centers, and busy hallways are all excellent choices. The most important rule is to never, ever place an AED in a locked room or cabinet. It must be accessible to anyone who needs it, without requiring a key or special permission. For outdoor settings like athletic fields, pools, or campus courtyards, you’ll need a specialized, weatherproof cabinet. These durable enclosures protect the device from extreme temperatures, moisture, and dust, which can damage the battery and electrode pads and void the warranty.
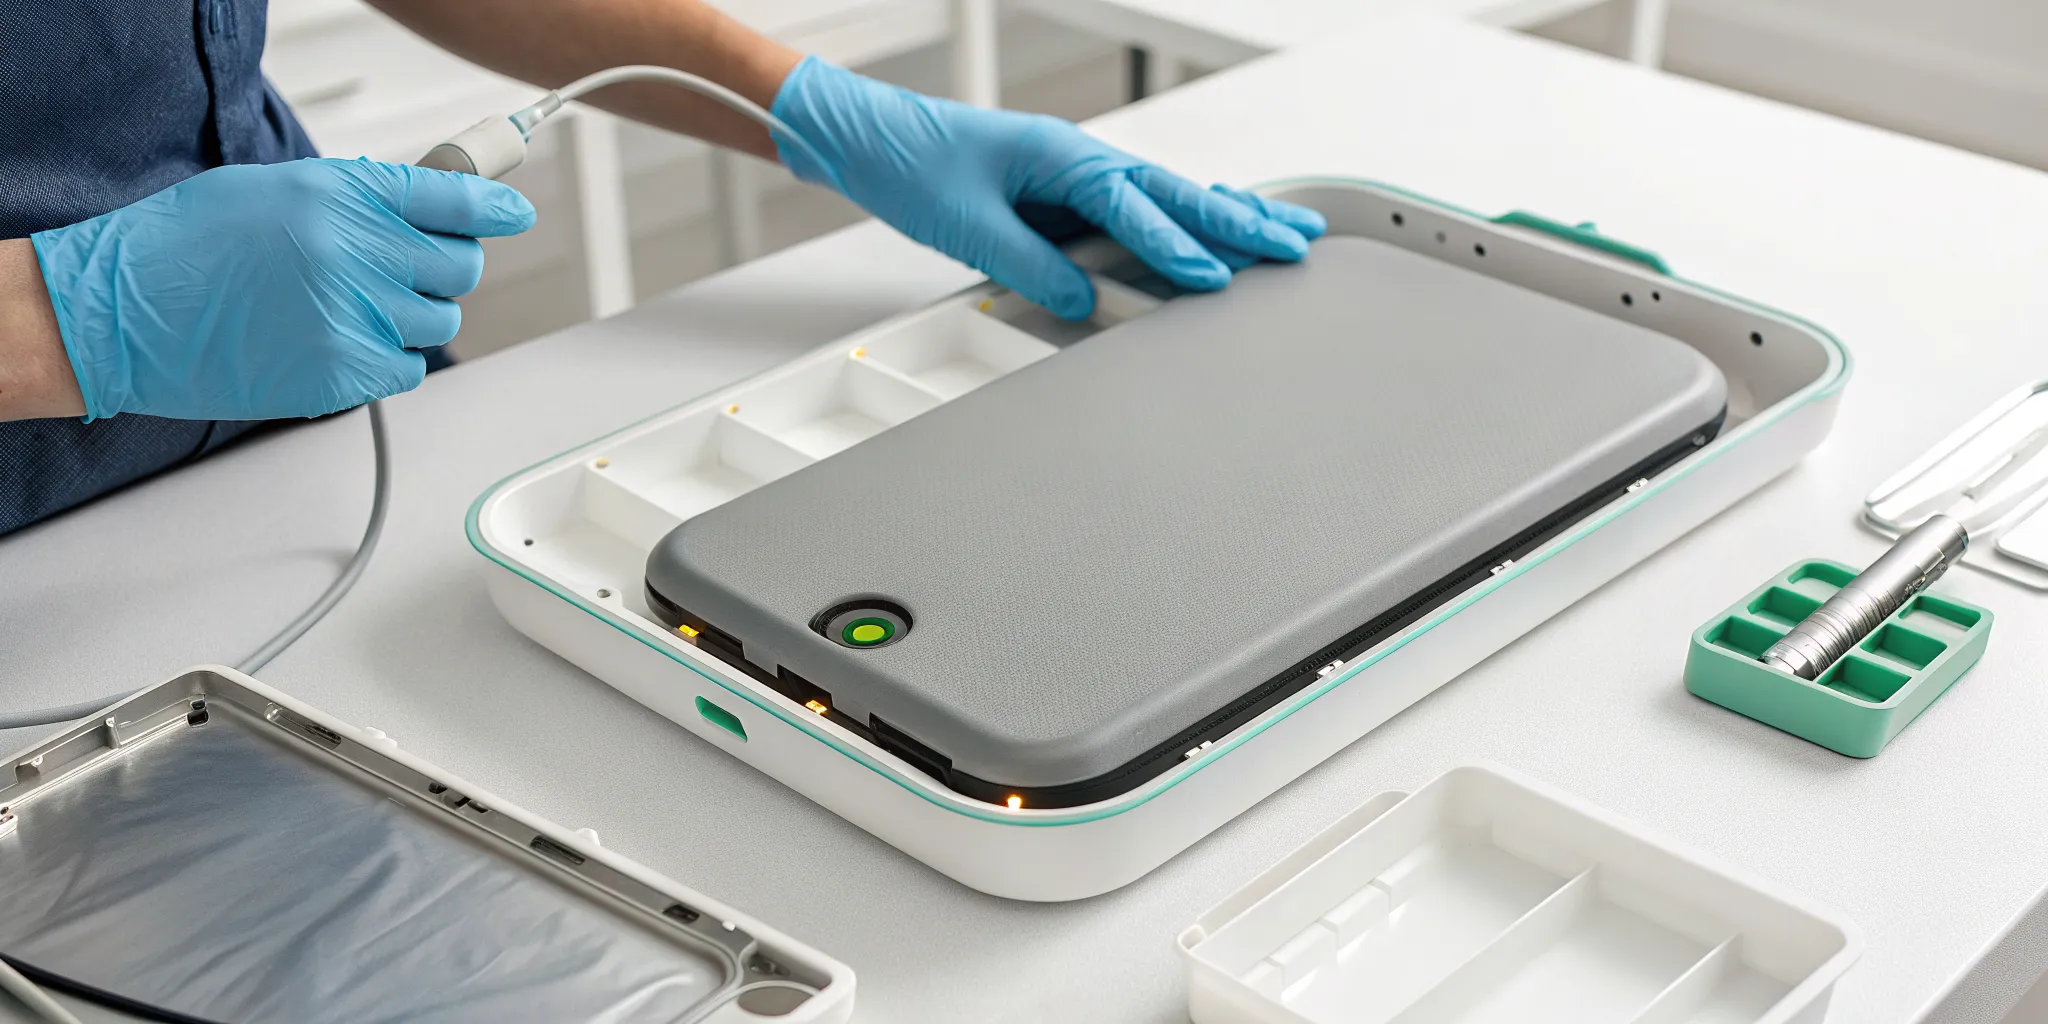
How to Choose and Install the Right AED Cabinet
Selecting the right cabinet is just as critical as choosing the AED itself. A good cabinet protects your device from damage, theft, and the elements while ensuring it’s highly visible and accessible when an emergency strikes. The ideal choice depends entirely on where the AED will live and what your organization’s specific needs are. Think of the cabinet as the AED’s home—it needs to be safe, secure, and easy to find.
Making the right decision involves considering your environment, installation options, and security needs. A cabinet in a quiet office hallway has very different requirements than one mounted on an exterior wall at a sports complex. By evaluating these factors, you can ensure your AED is not only protected but also ready for action at a moment’s notice. Let’s walk through the key considerations to help you find the perfect fit for your life-saving equipment.
Indoor vs. Outdoor: What’s the Difference?
First, determine if your AED will be located inside or outside. Indoor cabinets are designed to protect the device from dust, dirt, and tampering in controlled environments like offices, schools, and gyms. They are typically made of durable metal and keep the AED secure while making it easy to access.
Outdoor cabinets are built to withstand much tougher conditions. They must be weatherproof to protect the AED from rain, snow, and humidity. More importantly, they need to be climate-controlled. Extreme heat or cold can drain an AED’s battery and damage the electrode pads, rendering the device useless. An outdoor cabinet with a heater and fan maintains the optimal temperature range, ensuring your AED is always ready to perform. When browsing different AED accessories, be sure to choose a cabinet specifically rated for your environment.
Wall Mount or Stand: Which is Right for You?
Next, think about where you’ll physically place the cabinet. The most common solution is a wall-mounted cabinet. These can be surface-mounted (sticking out from the wall), semi-recessed (partially in the wall), or fully recessed (flush with the wall). A recessed installation is great for keeping hallways clear and compliant with protrusion limits. Regardless of the style, the cabinet should be installed so the AED handle is no more than 48 inches from the floor, keeping it within reach for someone in a wheelchair.
If wall mounting isn’t an option—perhaps due to glass walls or a wide-open floor plan in a lobby or convention center—an AED stand is an excellent alternative. Stands offer more flexibility in placement and can make the AED a visible centerpiece of your emergency response plan. Our team can help with placement guidance to ensure your device is both compliant and easy to access.
Do You Need an Alarm or Security Features?
A good cabinet does more than just hold the AED; it also helps protect it and alerts others during an emergency. Most modern cabinets come equipped with an audible alarm that sounds when the door is opened. This feature is incredibly useful for two reasons: it deters theft and tampering, and it immediately notifies people nearby that a potential emergency is in progress, drawing attention and assistance to the scene.
While some cabinets offer locks, it’s generally best to use an unlocked cabinet to guarantee the fastest possible access. If security is a major concern, choose a cabinet with a simple breakaway mechanism instead of a key. Finally, remember that visibility is a key part of security. Make sure there are clear signs pointing to the AED and that the area is well-lit. A well-marked and visible station shows that the device is a valued part of your safety program and is actively monitored.
Common AED Mounting Problems (and How to Fix Them)
Placing an AED seems straightforward until you start looking for the perfect spot. Suddenly, you’re facing budget constraints, tricky building layouts, and the challenge of making sure everyone knows where the device is. These hurdles are common, but they are also completely manageable with a bit of planning. The goal is to find a mounting solution that is compliant, visible, and practical for your specific space. It’s about balancing regulations with real-world logistics. Let’s walk through some of the most frequent challenges and discuss how to solve them, ensuring your AED is ready and accessible when it matters most.
What if You’re on a Tight Budget?
It’s easy to focus on the upfront cost of an AED cabinet, but a budget-friendly choice isn’t always the most economical one in the long run. A cheaper cabinet might not hold up over time or could lack features like alarms that are critical for security and awareness. Investing in a quality cabinet from the start helps you meet safety standards and can prevent future expenses related to maintenance or replacement. When planning your budget, think beyond the hardware. Factor in costs for professional installation, clear signage, and ongoing AED program management to keep the device ready for use. If a large initial purchase is a concern, exploring an AED rental program can be a great way to get high-quality equipment while managing cash flow.
Solving Tricky Layout and Design Problems
Not every wall is a good candidate for an AED. Finding a spot that meets ADA guidelines can be tricky, especially in buildings with narrow hallways, unique architectural features, or limited wall space. The rules are clear: the AED cannot stick out more than four inches from the wall in a walkway, and the highest operable part should be no more than 48 inches from the floor. This ensures it doesn’t become a hazard and remains accessible to someone in a wheelchair. If your walls are all glass or your hallways are too tight, you may need to consider a recessed cabinet or a freestanding AED stand. Getting expert placement guidance can help you identify compliant locations you might have overlooked.
What if Your Team Can’t Find It?
A perfectly mounted AED is only effective if your team knows where it is and feels confident using it. Simply installing the device isn’t enough; you have to close the loop with communication and training. Make the AED’s location a key part of employee onboarding, safety briefings, and emergency drills. Regular communication keeps the device top-of-mind. Beyond location awareness, it’s crucial to build confidence through training on your specific AED model. This also includes assigning responsibility for routine checks on battery life and electrode pad expiration dates. An unmaintained device is an unreliable one. Integrating these tasks into a comprehensive readiness plan ensures your people and your equipment are always prepared for an emergency.
Beyond Mounting: Your Complete AED Program Checklist
Installing an AED cabinet on the wall is a great first step, but it’s not the last one. A truly effective emergency response plan treats your AED as the centerpiece of a larger program. Think of it this way: the device itself is a tool, but the strategy behind it is what saves lives. A well-managed program ensures your AED is always ready, your team is prepared, and your organization meets all compliance requirements.
Creating this strategy involves more than just hardware. It’s about establishing a routine for maintenance, keeping meticulous records, and empowering your staff with the right training. This proactive approach not only prepares you for a cardiac emergency but also protects your organization from liability by demonstrating due diligence. Building a comprehensive AED program management system turns a simple device into a reliable safety net. The following steps are the essential pillars of any successful AED program.
Integrate into the Chain of Survival
Your AED is a critical link in the Chain of Survival, but it’s just one link. For it to be effective, it must be part of a practiced emergency response plan. When someone collapses, the clock starts ticking immediately. Survival chances drop by 7-10% for every minute that passes without help, and the goal is always to deliver a shock in under three minutes. This is only possible when your AED is placed where it can be quickly retrieved and used alongside other life-saving actions, like calling 911 and starting high-quality CPR. Your mounting strategy should support this entire sequence, ensuring the device is a seamless part of the rescue process, not a hurdle.
Establish Medical Oversight and Program Direction
An AED program also needs a leader. Most states require medical oversight, which means a licensed physician must oversee your program, provide a prescription for the device, and review any data after it’s used. This isn’t just a formality; it ensures your program follows clinical best practices. Beyond that, you need clear program direction. This involves creating a system for regular inspections, tracking battery and pad expiration dates, and keeping detailed records for compliance. An effective program goes beyond installation, and our comprehensive management services handle every one of these details to ensure your device is always ready and your people are prepared to act.
Schedule Regular Maintenance Checks
An AED with an expired battery or dried-out electrode pads is just a box on the wall. That’s why consistent, scheduled inspections are non-negotiable. Your AED will likely perform its own automated self-tests, but a physical check is still crucial to confirm it’s ready.
Set a recurring calendar reminder—monthly is a good rule of thumb—to visually inspect each device. During this check, you’ll want to confirm the status indicator light is green, check the expiration dates on the electrode pads and batteries, and ensure the device and its cabinet are clean and accessible. Keeping track of these dates and tasks for a single device is manageable, but the complexity grows with every additional AED you manage across different locations.
Keep Clear Records for Easy Audits
In an emergency, chaos is a given. Your documentation, however, should be a source of clarity and order. Keeping detailed records is essential for compliance and liability protection. If an incident occurs or an audit is performed, you’ll need a clear paper trail to show your program is managed responsibly.
Your records should include a log of every inspection, noting the date, the inspector’s name, and the status of the device. You should also document every time you replace batteries or electrode pads. These logs create an audit-ready history of your AED’s readiness. Having organized, accessible documentation proves your commitment to safety and ensures you can always answer the question, “How do you know this device was ready to work?”
Train Your Team on Location and Use
A life-saving device can’t do its job if no one can find it or knows how to use it. Training is the component that connects your people to your technology. At a minimum, every employee should know where to find the nearest AED. Include this information during new hire onboarding and conduct regular reminders.
Beyond that, you should provide formal CPR and AED training to a dedicated group of responders. Don’t just train the people in one department; make sure your trained staff are spread evenly throughout the building and across all shifts. This ensures that no matter where or when an emergency happens, a confident and capable responder is nearby to take action while you wait for professional help to arrive.
Related Articles
- AED Laws & Requirements Across State — AED Total Solution
- AED Signage Requirements and Laws to Ensure Legal Compliance
- The Optimal Placement of AEDs: Maximize Lifesaving Potential — AED Total Solution
- AED Laws & Requirements Across State — AED Total Solution
Frequently Asked Questions
What’s the most important measurement to remember when mounting an AED cabinet? The key number to remember is 48 inches. The handle or latch you use to open the cabinet should be no more than 48 inches from the floor. This isn’t just a suggestion; it’s an ADA requirement that ensures the device is reachable for everyone, including individuals who use a wheelchair. Getting this one measurement right is a critical first step in making your AED accessible during an emergency.
What should I do if my AED cabinet sticks out too far into a hallway? If your cabinet protrudes more than four inches from the wall, it can create a hazard for people with visual impairments and may violate ADA standards. The best solution is to use a recessed or semi-recessed cabinet that sits partially or fully inside the wall. If that’s not possible, you’ll need to find a location for the AED that is outside the main path of travel, such as in a nearby alcove.
How do I decide where to put the AED in my building? The best spot is a central, high-traffic location where the device is both visible and easy to grab. Think about places like main lobbies, cafeterias, or near elevators. A great way to test a potential spot is to use the three-minute rule: can a rescuer get the AED and return to any point in your facility in under three minutes? If not, you may need to consider adding another device to ensure full coverage.
Do I need a special cabinet for an AED placed outdoors? Yes, absolutely. An AED placed outside requires a specialized, weatherproof cabinet designed to protect it from the elements. More importantly, these cabinets are climate-controlled with heaters and fans. Extreme heat or cold can quickly drain an AED’s battery and damage the electrode pads, making the device useless when you need it most. An outdoor-rated cabinet is essential for keeping the device ready for use.
Once the AED is on the wall, is my work done? Mounting the AED is just the beginning. A truly effective program involves ongoing management to ensure the device is always ready to work. This includes performing regular inspections to check the battery and pad expiration dates, keeping clear documentation for compliance, and training your staff so they know where the AED is and feel confident using it. The installation is the first step, but the follow-through is what truly prepares you for an emergency.
Address Common Fears with Facts
Hesitation during an emergency is completely normal, but it’s often fueled by the fear of doing something wrong. The best way to counter that fear is with facts. When it comes to sudden cardiac arrest, the single most important fact is that speed saves lives. If an AED is used within the first minute of a person’s collapse, their chance of survival is nearly 90%. For every minute that passes without help, that chance drops by 7-10%. This isn’t meant to add pressure; it’s meant to show the incredible power a bystander has. Reminding your team of this simple truth can shift their mindset from a fear of failure to a focus on giving someone their best possible chance.
Remember Good Samaritan Protections
Another major reason people hesitate to intervene is the fear of legal consequences. Thankfully, this is a fear you can put to rest. Every state has “Good Samaritan” laws designed specifically to protect bystanders who act in good faith to help someone in an emergency. These laws shield individuals from liability, encouraging them to step up without worrying about being sued. It’s also important to remind your team that modern AEDs are incredibly safe. They analyze the person’s heart rhythm and will not deliver a shock unless it is absolutely necessary. This combination of legal protection and built-in safety features ensures that a well-intentioned rescuer can act with confidence.